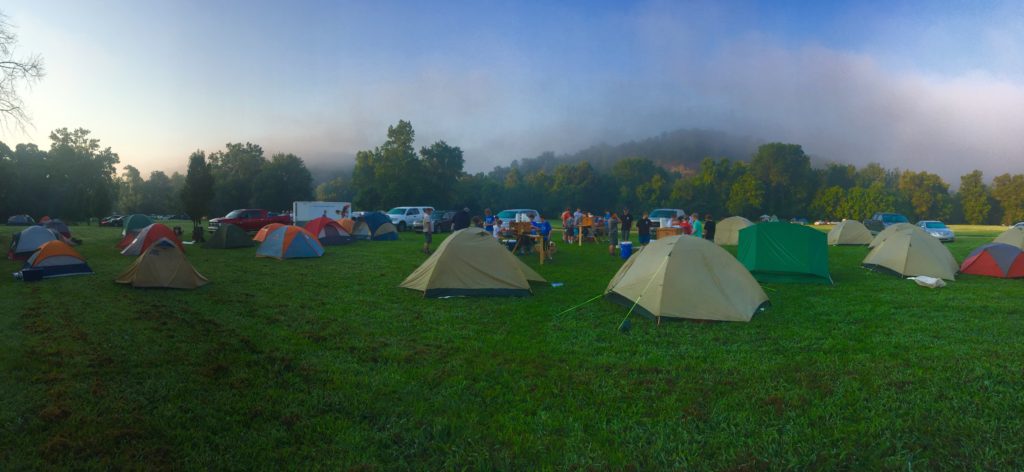
Whether you’re camping for the first time or just want to get more out of your next trip, knowing how to properly plan and prepare will help you stay safe.
The weather can change quickly, so be sure to check the forecast before you leave for your camping destination. Be prepared for cold and rainy weather as well as hot days. Read more interesting fact about dyreparken overnatting.
A camping trip can be a wonderful way to spend time outdoors and enjoy the natural beauty around you. However, you can avoid weather and other factors that can affect the experience of your trip.
Avoid
You can avoid the negative effects of bad weather by properly planning and preparing your camping trip in advance. This will help you ensure that your trip is a memorable one.
Type
Depending on the type of weather, you may need to bring different gear and clothing. For example, if you are camping in warm weather, you will need clothes that allow for ventilation to prevent perspiration from accumulating on your skin.
Cothes
If you are camping in cold weather, you will need clothes that keep your body temperature from dropping too low. You should also pack a blanket that can be used to shelter your food and water from freezing temperatures, especially during the night.
Weather
The weather forecast can be tricky to read, but if you take the time to check for rain before packing up for your camping trip it can make the difference between a dreadful day and one that is more enjoyable.
Forecast
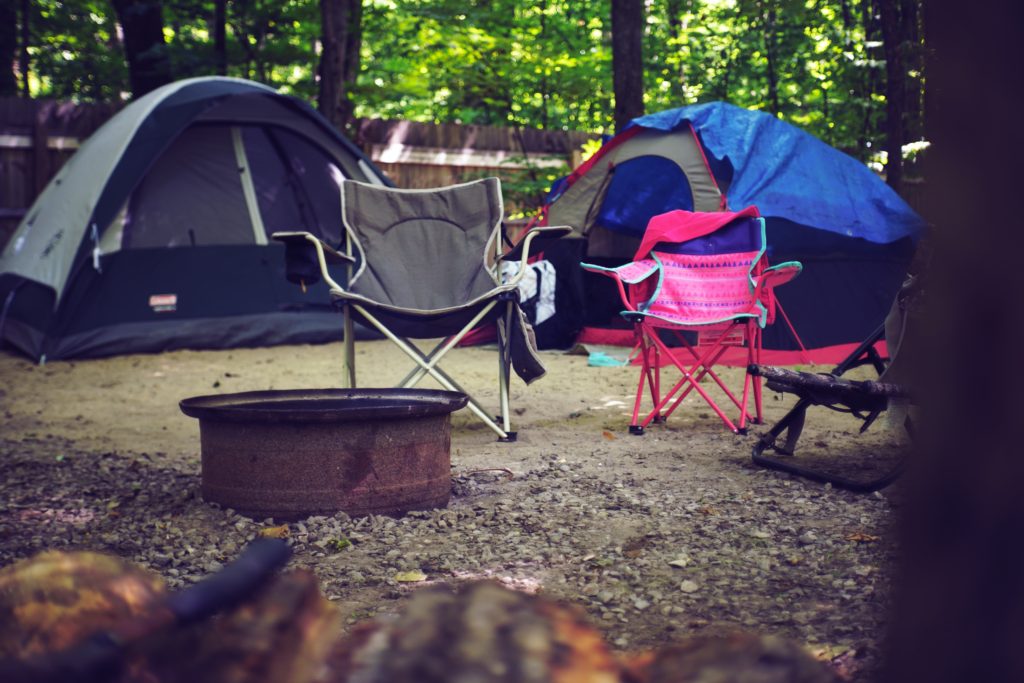
If the forecast is for heavy rainfall, pick a site that will allow you to build some shelter around your tent. This could be a tarp or even something that can easily be put up and can store your gear out of the rain.
Another great tip is to bring some newspaper with you as it will help dry out your tent, gear and anything else that gets wet. You can stick a few rolled-up clumps of it into your shoes at night to speed up the drying process and also helps with fire starting in a wet environment! For more detail about overnatting kristiansand.
A good rain coat and poncho will help keep you dry while hiking, but it’s also important to have enough layers to stay warm in case of extended periods of rainy weather. It important to know that weather can change quickly, especially in the fall. Always check the forecast for your camping destination to best prepare for your trip.
Vacation
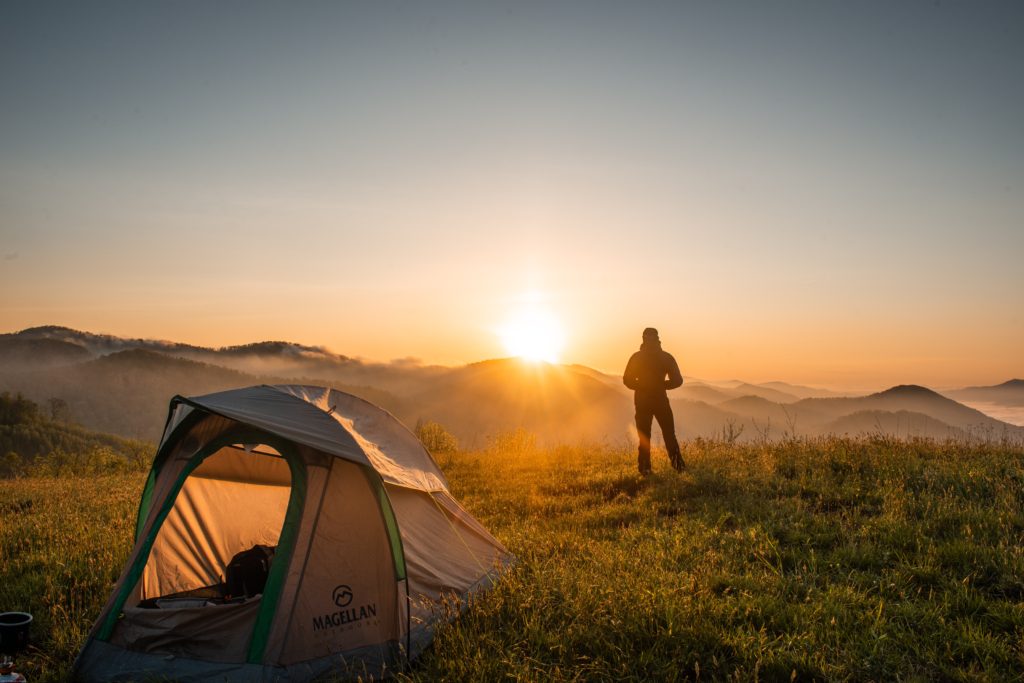
As with any vacation or adventure, it is always good to be prepared for the unexpected. Whether you are looking for the optimum temperature, best time of year to go, most scenic road or even which campsite to check out, make sure you take care of your pre-travel research. The internet is full of tips, tricks and gizmos to help you navigate your way to the perfect destination. One of the most useful things to do is to assemble an emergency kit. You will want to include important items such as a first aid kit, a whistle or two and a flashlight. These items will make life easier for you and those that you love. The best part is that you are less likely to be caught off guard if anything should go wrong. Click here and read more information about camping.
Camping
When you camping, it important to properly plan and prepare for your trip. This includes making sure that you have the right equipment for the type of trip you are going on. When it comes to weather, this means bringing the appropriate clothing and gear for both warm and cold conditions. It also means preparing for the possibility of rain and storms.